
Introduction
This article is part of our first print instructions, for those who are using Palette in Connected Mode (with a Hub).
Video Overview
-
-
First, set up your CANVAS Hub or your CANVAS Hub S. These instructions will also allow you link and connect the hub to Canvas.
-
Create a printer profile by either importing an existing profile from Simplify3D, Kisslicer, or Slicer/Prusaslicer. Or, you may create a new profile.
-
-
-
Slice this calibration keychain (alternate link) in CANVAS, or use Chroma if you'd like to use Simplify3D, Cura, KISSlicer, Slic3r/PrusaSlicer as your slicer. For a tutorial on how to prepare a file in CANVAS, please see here.
-
With the project open, on the right-side panel, select the Palette model you will be using. By default, connected mode is selected. After slicing, this will output a mcf.gcode file.
-
Colour the model by dragging and dropping your colour onto the STL filenames.
-
Please do not resize the keychain or use the Paint feature.
-
Use a transition tower, do not use side-transitioning.
-
-
-
After your file has been sliced, select the Send to Hub option. Once selected, return to your CANVAS Hub interface to see that the file has been sent to your Hub.
-
To launch Octoprint after Canvas Hub (S) has been connected to a local WiFi network, use an IP scanner to copy the hub's IP address and paste this into the address bar in the web browser.
-
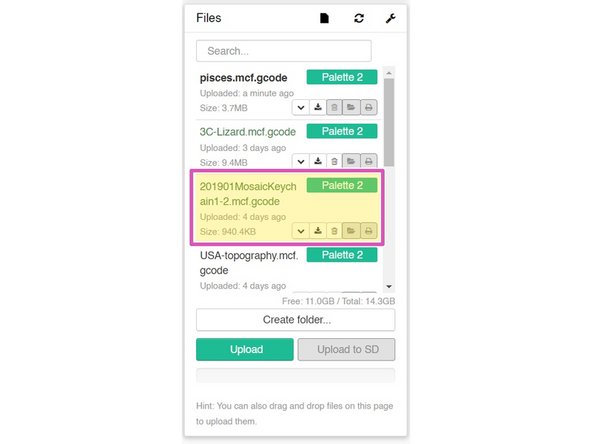
Once the files have been received, it will appear in the Files section on Octoprint.
-
If you have downloaded the file from Canvas, the mcf.gcode file can be manually uploaded to Octoprint.
-
Please note: drop the files on the Upload Locally side.
-
-
-
Once your files are uploaded, click the printer icon under your file name to load the print.
-
Click Print from the State box. Canvas Hub's interface will acknowledge that a print will begin with Palette. Select OK and Palette will begin initializing while your printer is paused.
-
Follow the on-screen instructions to load filament into Palette 2. Palette and Canvas Hub will prompt you to then pre-heat your printer.
-
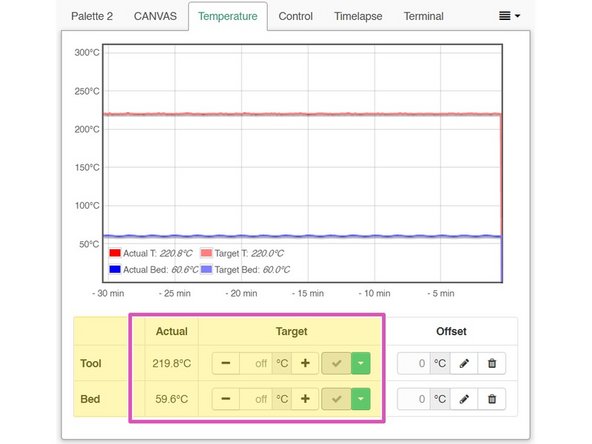
In Octoprint, set the bed and extruder temperatures in the Temperature tab.
-
-
-
Once pre-heated, continue following Palette's on-screen instructions to load 5-10 cm of clear or white filament into your printer's extruder.
-
This is not filament from Palette, but a separate piece of filament to prime the nozzle. Please make sure that the filament you will be loading into Palette is not clear or white. This will help purge any residue or leftover filament from the previous print, and make it easier to see the color transition from the nozzle.
-
In Octoprint, switch to the Control tab to manually extrude filament from your printer.
-
-
-
Palette will now have created enough filament to load into your printer's extruder. Use the Extrude function again so that the filament is gripped by your extruder's gears. Clip the Teflon tubing into your Teflon tube clip.
-
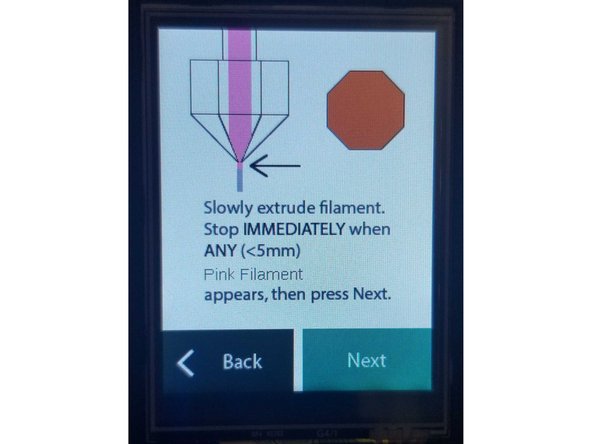
You'll be instructed to slowly extrude filament until you see a new color appear from the extruder. Using the Extrude function, slowly jog filament until the color change occurs. You can adjust the amount and speed to ensure a precise loading of filament.
-
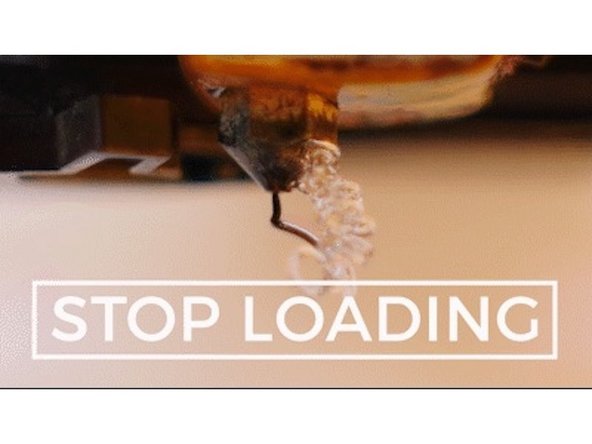
Stop extruding as soon as you see any hint of the filament from Palette appear, and confirm loading is complete on Palette's screen by selecting Next.
-
When you select Start Print both Palette and your printer will begin the print.
-
-
-
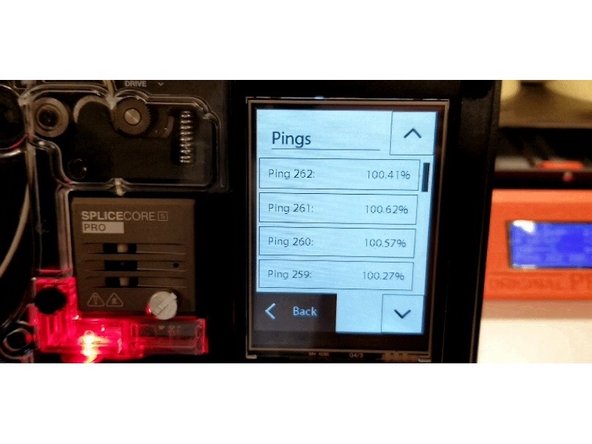
Once your print has started, please check your ping data and if possible, take a photo. If anything goes wrong during the print, this data will help us diagnose the issue. If you'd like to learn more about pings and what they mean, check out this article.
-
The print is considered successful if 1) the bottom of the keychain print has clearly defined colored regions. 2) the bottom of the transition tower also has a clear color change.
-
Please see here for more details on how to evaluate the first print.
-
-
-
On Palette, printer profiles can be viewed under Settings > Preferences > Printer Profiles. After completing the keychain you should have an LO (loading offset) and HM (historical modifier) saved.
-
To continue tuning the printer profile, print small to medium sized models that have at least 15 pings after slicing. After the print completes, save or ignore the print data to tune the HM, which is the average of pings over time.
-
Palette uses machine learning using ping data from each print, to get better with every print.
-


If you have any additional questions, please send us a message at support@mosaicmfg.com.
If you have any additional questions, please send us a message at support@mosaicmfg.com.
Cancel: I did not complete this guide.
10 other people completed this guide.
